Animals
 Animation
 Art of Playing Cards
 Drugs
Drugs Education
 Environment
 Flying
 History
 Humour
 Immigration
 Info/Tech
 Intellectual/Entertaining
 Lifestyles
 Men
Men Money/Politics/Law
 New Jersey
 Odds and Oddities
 Older & Under
 Photography
 Prisons
 Relationships
 Science
 Social/Cultural
 Terrorism
 Wellington
 Working
 Zero Return Investment
How to Send Your Head on Vacation
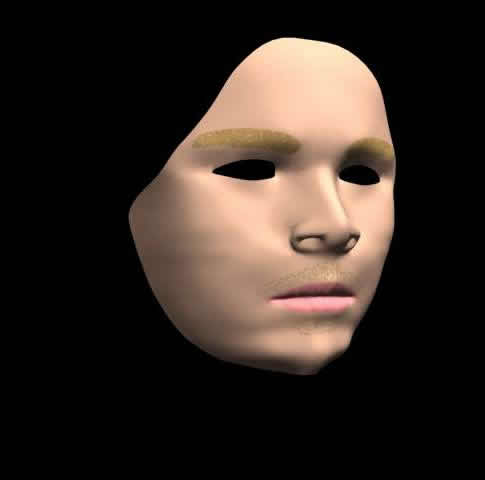
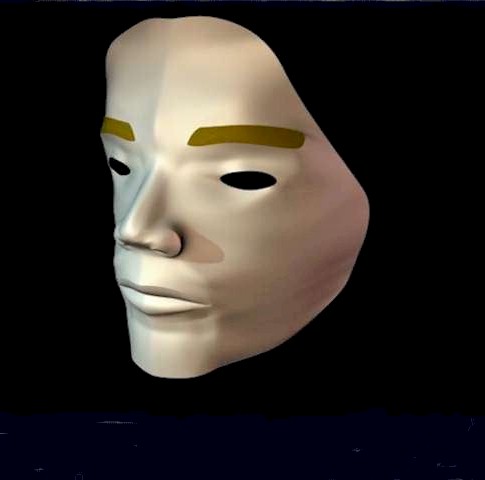
Advanced 3D Studio Max Class Page 2In choosing where to live or vacation, we may be setting the stage for the play of ourselves, treating nature as a prop. - Deborah Tall Project 4: Modelling with Surface ModifierOur assignment: to model our own heads using front and side photographs and a surface modifier.
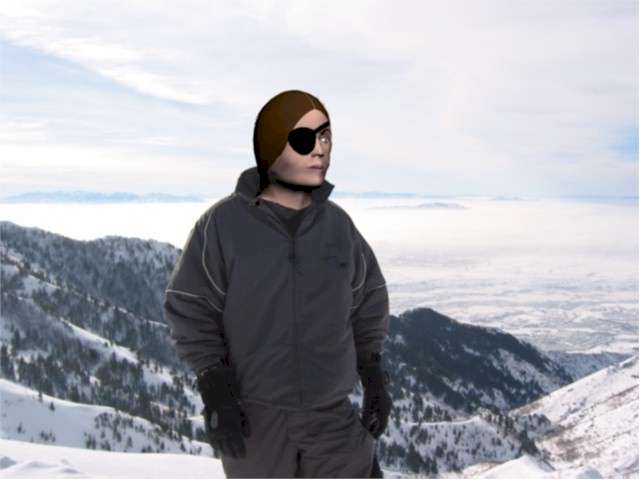
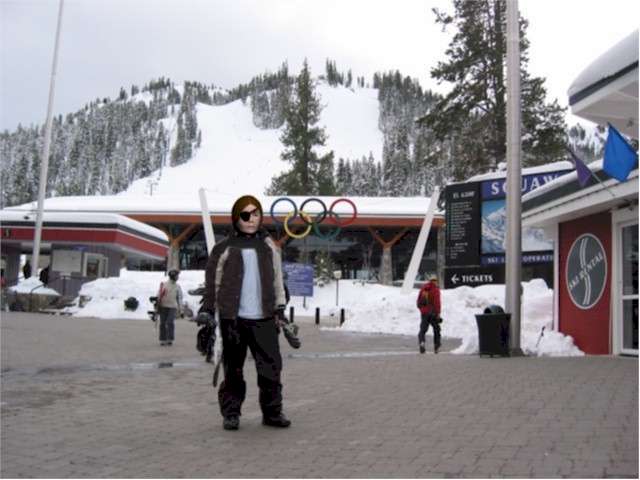
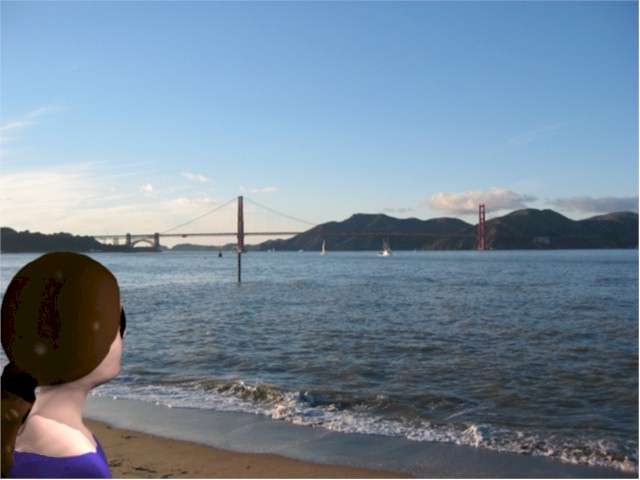
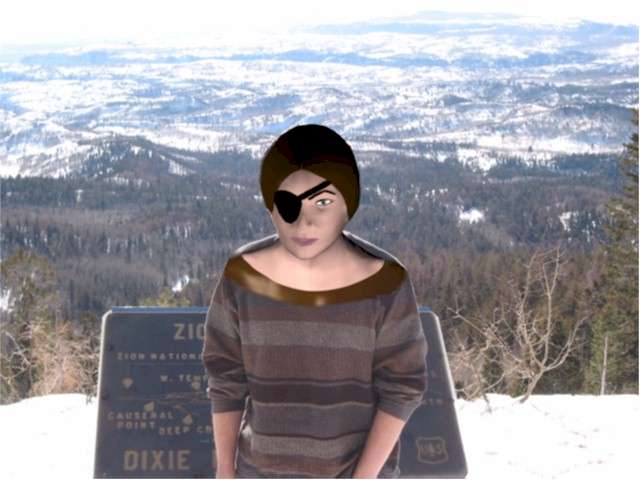
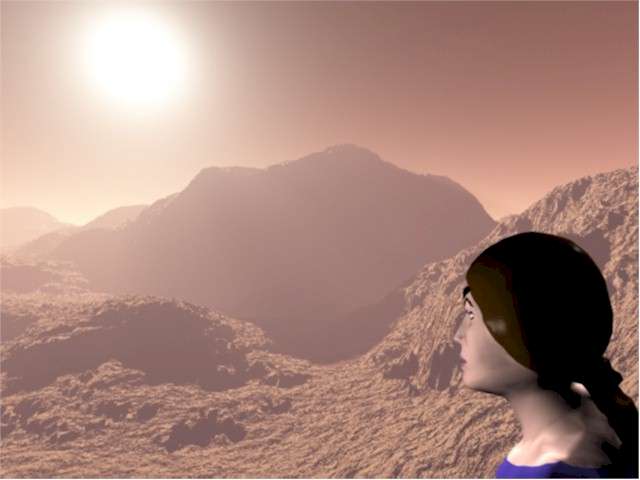
Me in Ogden, at the Olympics, in San Francisco, at the Dixie National Forest and on Mars
Wolf's, Cody's In class we took photos, then had a demonstration of how to go from the photos to the model. We learned how to ensure the front and side views were carefully aligned, to use extra vertices around the mouth and eyes, and to use a surface modifier. The instructor made modelling look rather easy - it isn't, but I found it to be enjoyable - therapeutic, even - that is, when things go well.
What I learned: Save your work often with different version numbers. Oh, wait - maybe I should put that comment in capital letters. Check the mesh on all sides regularly - if the "ignore backfacing" button becomes unticked, you can be doing a perfectly lovely job on one side while mangling the part on the other side you thought you had just completely finished. (Or, I learned later, you could just hide the back half of your object.) I learned how aggravating it can be to think you're just about done, apply a meshsmooth and see your model warp as if it's been left in the sun too long - due to "hidden" errors - usually unwelded vertices. polygons with more that 4 sides or stray lines, vertices or faces. I downloaded several great photographs from u.arizona.edu/~ecarter (I had searched for photos of Mars), and used my head in place of the person's in the photos, or else inserted myself in one corner of the scene. Thus I have "My Vacation Album" of places where my head has been in the past week.
Project 5: Lip SyncOur assignment: To learn the art of matching the movement of a mouth to the spoken word.
Cody's, mine, Wolf's - Click to begin Unfortunately, I learned nothing in class because I was unable to attend - the fire sprinklers in our home began to drip, wreaking havoc. I had to stay home while 2 men came by to make emergency repairs. Wolf took a few notes for me. He said you really need 9 different faces MINIMUM to make lip sync look decent - even more is better. But for this project, we were assigned to do only 3. A lot of words, he said, if you look at your face, show very little difference between some syllables - differences are often purely your tongue. We're to try our best to make it look decent anyway. (H-m-m-m)
I learned the hard way not to delete any vertices. Actually, this project was easy - but tedious. The fact that the sound lags just slightly is an artifact of the software I used to turn the .avi into a flash file. (Honest!) Click here for:
Click here for:
Click here for:
Click here for:
Plus, there're the Basic 3D classes pages. If you're interested in having a any of the files, please contact me. We used version 3D Studio Max version 6 (this was in 2003 after all).
For more animation, video clips, and shockwave games click the "Up" button below to take you to the index page for this Animation section where you will find all sorts of things. |